
Last updated August 28, 2026
Free in-home measure and quote - PGT, CGI and CWS impact lines compared on your actual openings, style by style
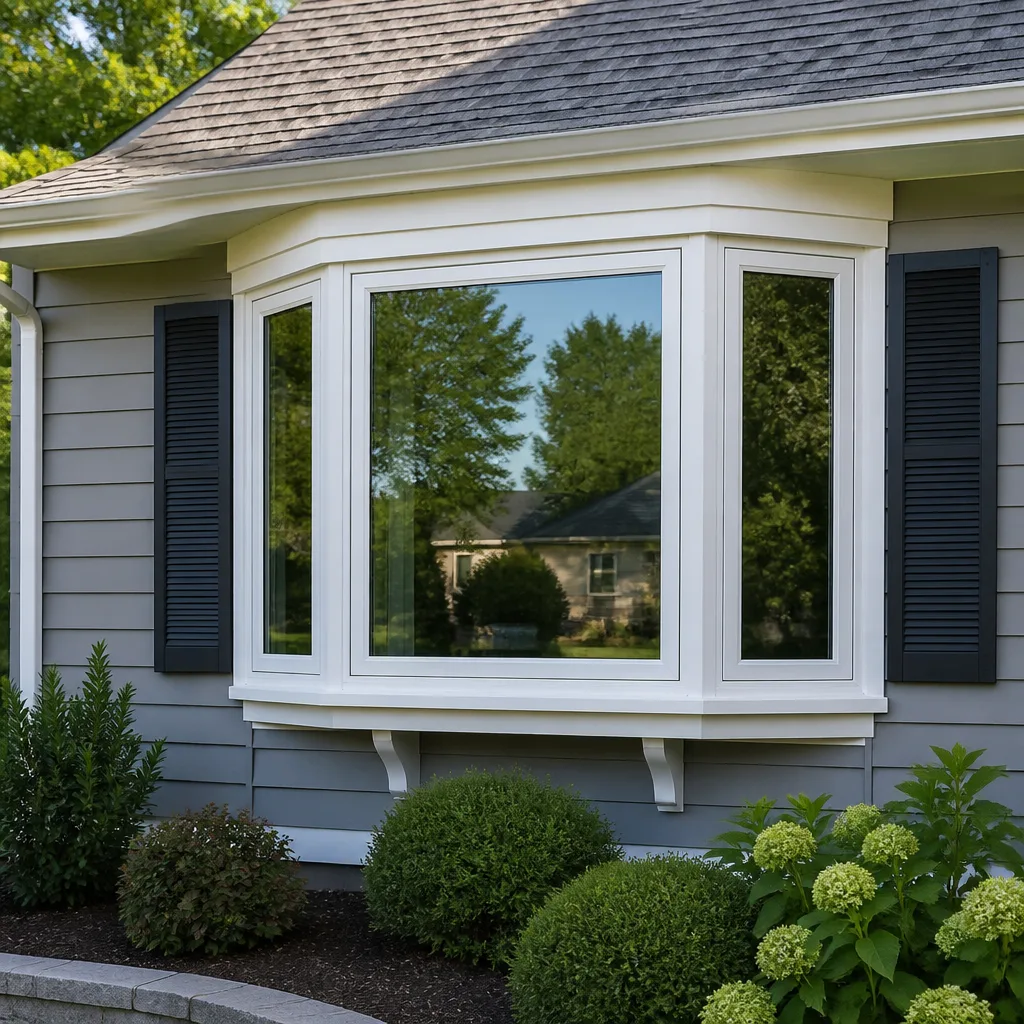




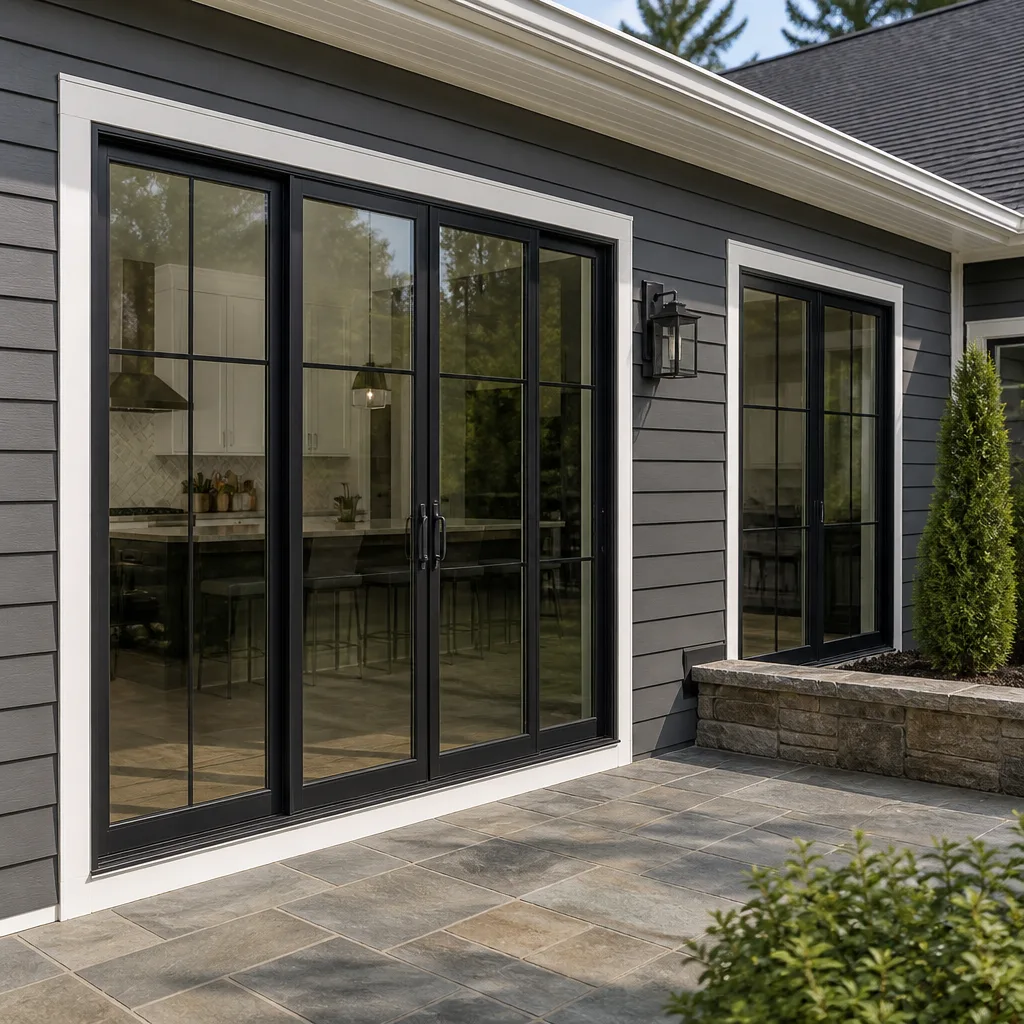
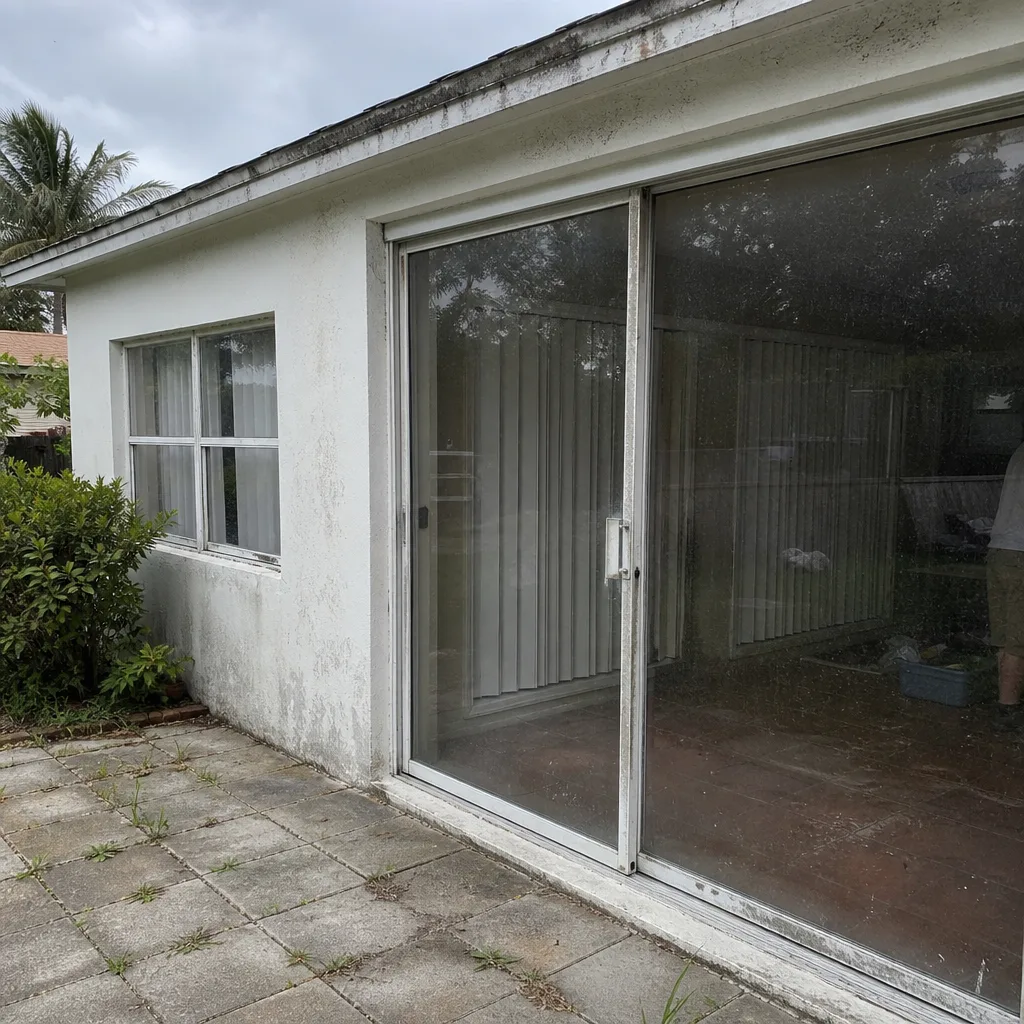 Before
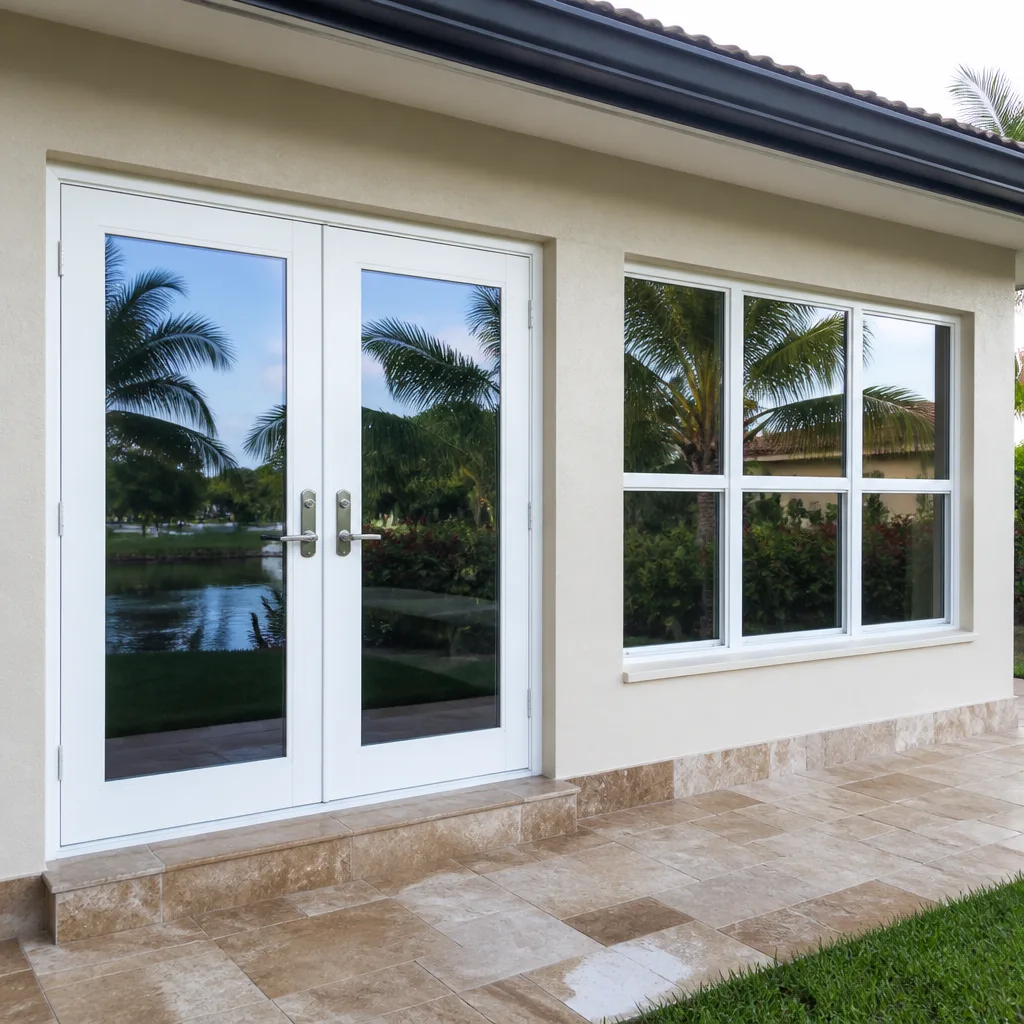 After
After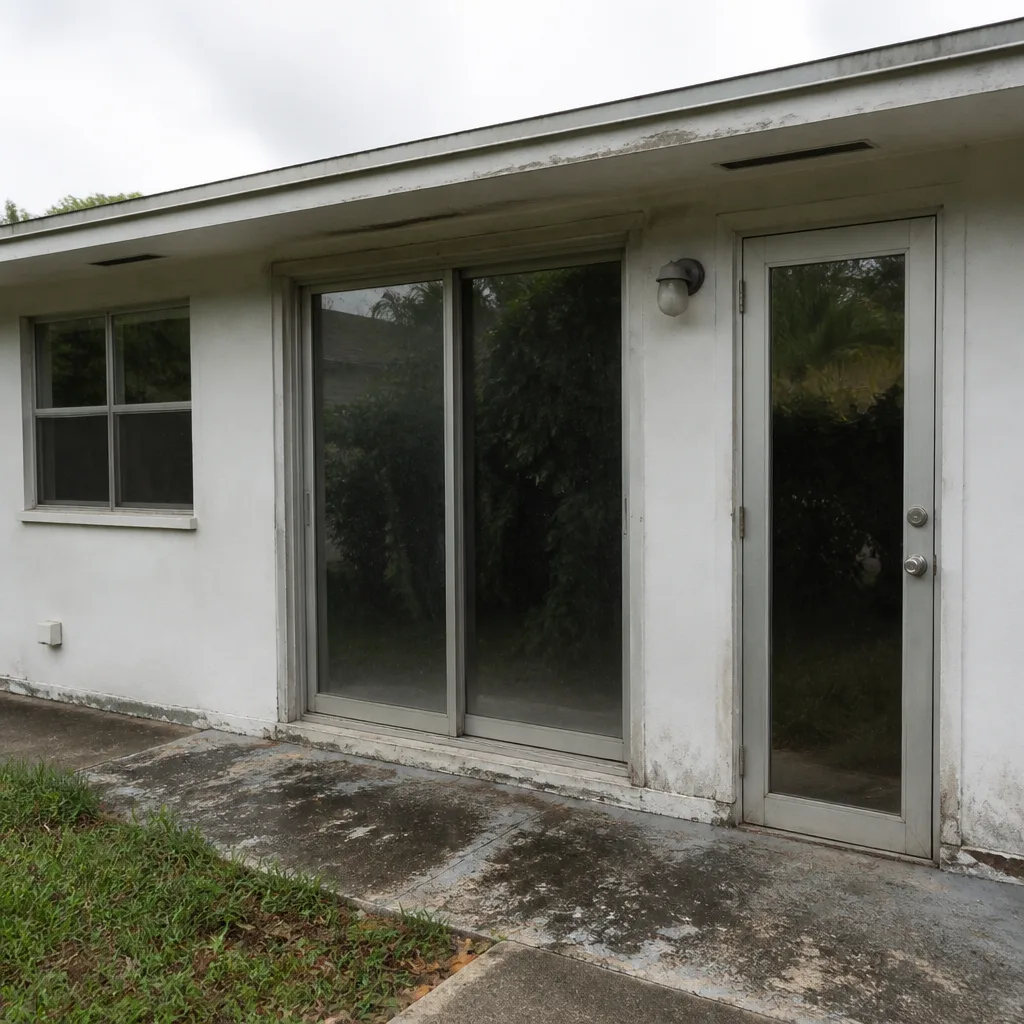 Before
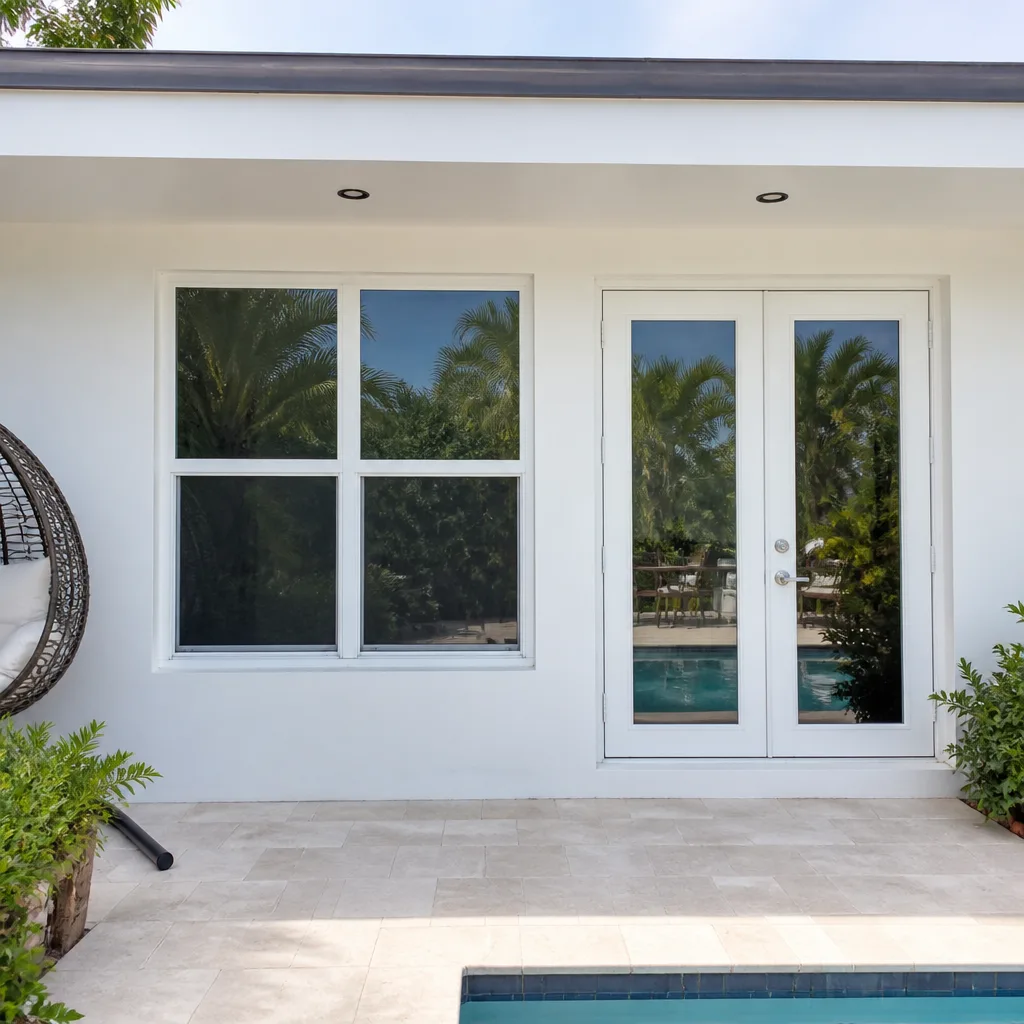 After
After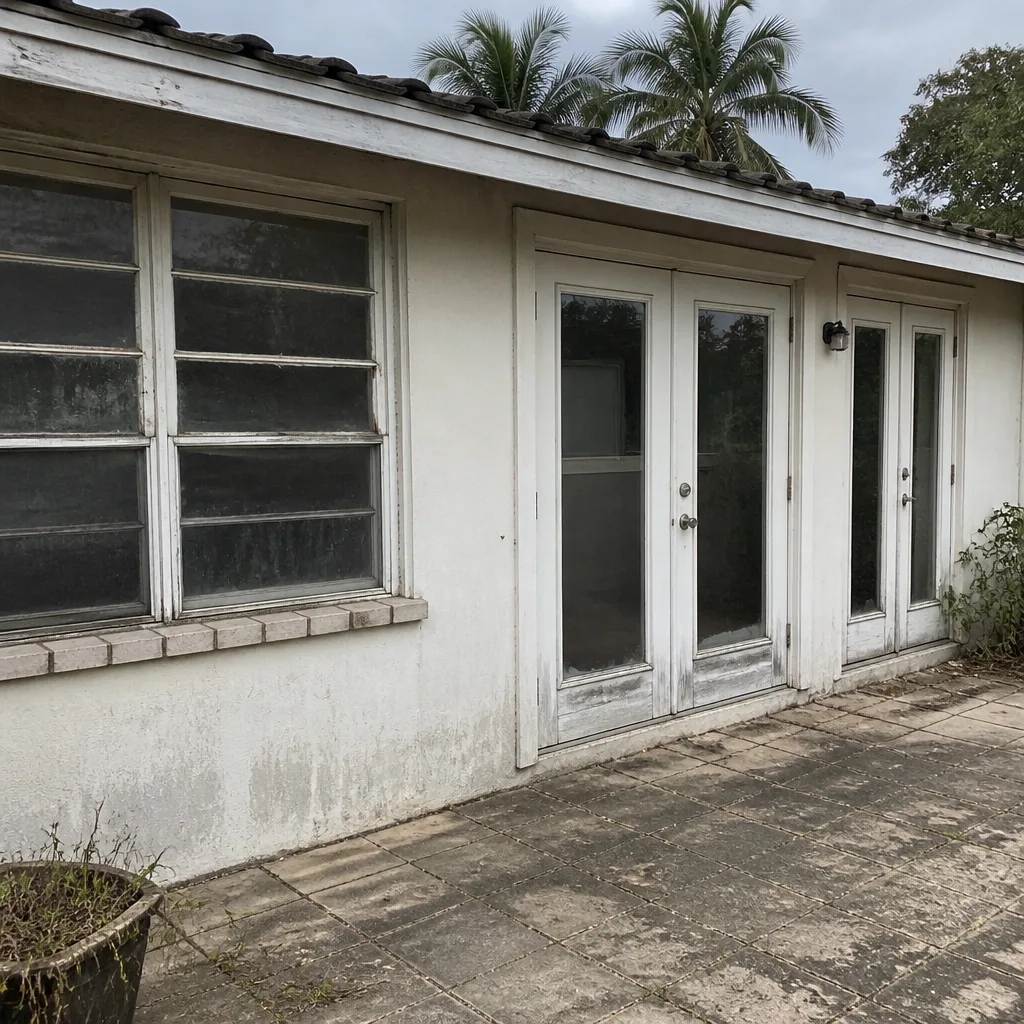 Before
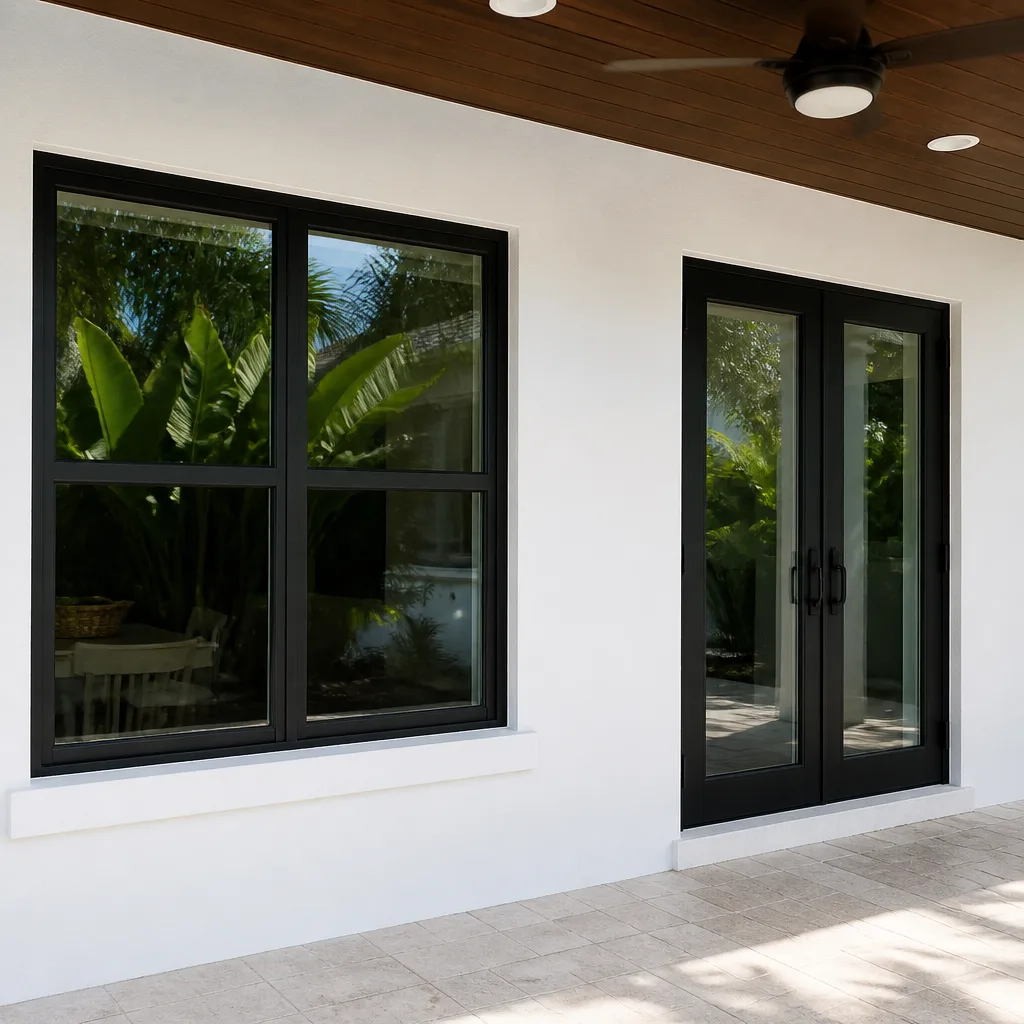 After
AfterImpact Windows Maintenance Checklist for Miami Homeowners
A compromised weep hole on a Miami impact window can allow water intrusion that the impact glass itself never caused. Most homeowners find out only when they see efflorescence on the interior sill after a tropical squall, and by then the sill pan flashing has been sitting wet for months. This guide walks through a component-by-component maintenance approach that catches the failures most checklists miss: the seals, the drainage paths, and the hardware that seize quietly before the next storm arrives. If you’ve lived in Miami long enough, you’ve learned that the window that held through Hurricane Andrew can still fail from a clogged drain channel no one ever looked at.
Quick Answer
An impact window maintenance checklist for Miami homes should cover four components in order: weep hole drainage, frame-to-wall sealant, multipoint hardware lubrication, and gasket seat integrity. Impact glass rarely fails on its own; the frame seals, drainage channels, and locking hardware fail first and void the protection you paid for. Inspect these components every six months, clean them with the correct non-etching agents, and test the sealant with a controlled water method before visual inspection gives you a false sense of security.
Table of Contents
- Weep Holes: The Drainage Path That Fails First
- Cleaning Laminated Impact Glass Without Etching the Interlayer
- How to Test Frame-to-Wall Sealant Integrity the Right Way
- Hardware Lubrication Intervals for Miami Humidity
- What a Legitimate Glazier Looks for on the Gasket Seat
- The Six-Month Inspection Walkthrough
- Common Mistakes to Avoid
- When to Call a Professional
- Frequently Asked Questions
- The Bottom Line
Weep Holes: The Drainage Path That Fails First
Every impact window frame manufactured for the South Florida market has weep holes: small openings along the bottom track or sill that let water drain outward. In Miami’s climate, these holes are the difference between a window that sheds rain and a window that holds it against the sill pan until it finds the drywall. Wind-driven rain enters the frame track during a tropical squall. The weep holes let it out. When they clog, water has nowhere to go but inward and down, and the sill pan flashing beneath the frame becomes a shallow bathtub. We’ve opened frames after a wet season and found the pan flashing still holding water six weeks after the last rain. The homeowner saw nothing wrong from the interior.
Inspecting weep holes takes ten minutes per window and requires no tools beyond a flashlight and a wooden toothpick. Start by squatting at eye level with the bottom track. Shine the light across the track from the interior side. You are looking for two things: visible debris compacted in the openings, and staining or mineral residue that suggests water sat in the track recently. A white chalky film along the bottom track is the first sign drainage has slowed.
Clearing weep holes without damaging the sill pan flashing is the step most manufacturer guides bury or omit entirely. Here is the correct sequence:
- Vacuum the bottom track first with a narrow crevice attachment. This removes loose sand, leaf fragments, and the fine gray silt Miami sprinkler systems blow onto window tracks. Do not blow compressed air into the track: it drives debris deeper into the weep channel.
- Check each weep hole from the exterior. On most impact frames there are two or three per window, spaced evenly along the bottom. If you cannot see daylight through the hole, it is blocked.
- Insert a wooden toothpick, not metal wire, into each hole and rotate gently. Wood will not scratch the frame coating or puncture the sill pan flashing beneath the frame. Metal tools will. Work the toothpick in a slow circular motion and withdraw it to inspect what comes out.
- Flush each weep hole with a low-pressure stream of water from the exterior side only. Use a spray bottle set to a narrow stream or a garden hose on its gentlest setting. Never direct high pressure into the hole from the interior: you will force debris and water under the sill pan flashing, which is exactly what you are trying to keep dry.
- Confirm drainage by watching water exit the holes on the exterior face. If water does not drain within thirty seconds, repeat steps two through four. If the water still will not drain, the weep channel is impacted with sediment that has hardened, and the frame needs to be removed from the sill to clear it properly.
A weep hole that will not clear with gentle flushing is not a maintenance task anymore; it is a repair. The flashing beneath the frame has likely been wet longer than you want to know. In Miami’s wet season, a window with blocked weep holes can pull water into the wall cavity within a single afternoon, and the repair bill climbs the longer it sits. We clear blocked drains on impact windows in Miami and regularly find sill pan flashing that needs to be pulled, dried, and reset, which is a far smaller job than the drywall and framing replacement that follows a year of neglect.
Cleaning Laminated Impact Glass Without Etching the Interlayer
Impact glass is not ordinary annealed glass. It is a laminate: two panes of tempered or heat-strengthened glass bonded to a polyvinyl butyral interlayer, the same construction used in automotive windshields. That interlayer is what keeps the glass in the frame when a projectile hits it. It is also the component that common household cleaners damage quietly, over years, without leaving a mark you can see until the clarity is gone.
The cleaning agents that are safe for standard window glass are not automatically safe for laminated impact glass. The problem is chemical migration. Products containing ammonia, which is in most blue glass cleaners, break down slowly when they encounter the exposed interlayer edge at the perimeter of the lamination. This occurs even when you do not spray the edge directly. The solvent wicks along the laminate margins. Over five or six years of monthly cleaning with an ammonia-based product, the interlayer begins to haze at the perimeter, then the haze creeps inward. The glass loses optical clarity, and the damage is irreversible; the laminate cannot be polished back. We’ve seen this in Miami oceanfront condos where the salt air already puts the interlayer under stress, and the ammonia finish the job.
Safe cleaning for laminated impact glass is simple but specific.
- Use a pH-neutral cleaner. A diluted solution of dish soap and water is the most reliable option, about one teaspoon of mild dish soap per quart of water. It cleans salt film, pollen, and insect residue without affecting the interlayer.
- Use either a microfiber cloth or a soft cotton rag. Paper towels are abrasive at the microscopic level and will leave micro-scratches that haze the glass over time, especially on the large impact-rated picture windows that face the water.
- Apply the cleaning solution to the cloth, not the glass. Spraying directly onto the pane sends cleaner running down the glass and into the frame track, where it pools against the sealant and the interlayer edge. This is the single most common cleaning mistake we see.
- Wipe in one direction, top to bottom, then buff with a dry microfiber cloth. Circular wiping drives residue into the corners where the glass meets the frame.
- Never clean impact glass in direct sun. The heat accelerates evaporation and leaves cleaning residue on the surface. A pane that is hot to the touch will take the film before you can buff it off. Clean in the morning when the glass is cool.
For homeowners in Miami condominium buildings near the water, where salt film builds within days, we often recommend a maintenance schedule that includes a monthly freshwater rinse of the exterior glass followed by a proper cleaning every quarter. The rinse alone removes salt before it accumulates in the joint between glass and frame, which is where it does the most damage over time. A note on manufacturers: we install impact lines from ECO Window Systems and ES Windows, and both publish interlayer-safe cleaning specifications that align with what I’ve described here. The ammonia warning is universal across laminated impact glass; this is not a brand-specific issue. When we quote window work, we walk through the cleaning schedule because a homeowner who knows how to maintain the glass is the one whose warranty stays intact. You can read more about how we approach window installation in Miami and what we cover at the time of install.
How to Test Frame-to-Wall Sealant Integrity the Right Way
Visual inspection of sealant beads gives most homeowners a false sense of security. A bead that is fully intact but no longer adhered to the frame or the stucco looks the same from across the room as a bead that is sealing properly. The failure is at the bond line, not on the surface, and it often starts at the bottom corners of the frame where thermal movement is greatest. By the time the sealant bead is visibly cracked and falling away, water has been moving behind the frame for at least one full wet season.
There is a controlled water test that finds adhesion failure before it finds you. It requires a garden hose, a spray nozzle set to a gentle fan, and about ten minutes per window. The sequence matters.
- Start at the bottom corner of the frame where it meets the wall. This is the point of highest stress on the sealant bead and the first place bond failure shows up.
- Set the hose nozzle to a gentle fan, not a jet. You want rain pressure, not pressure-washer pressure. A pressure washer at the frame line will inject water through a failed bead and into the wall cavity, which makes the problem worse.
- Work the spray slowly along the bottom edge of the frame from corner to corner, then up each side, then across the top. Keep the nozzle at a 45-degree angle to the joint, pointed away from the glass and toward the wall. Move slowly enough that each joint area gets about ten seconds of water contact.
- After you have sprayed the full perimeter, go inside and inspect the interior side of the frame at floor level. Look for moisture at the bottom corners and along the sill. Run a finger along the bottom track. If it comes away wet, the sealant bead has failed at the bond line, and water is getting driven behind the flashing.
- Repeat the test only on windows that show no moisture. Do not re-test a window that has already failed the water test; one confirmation is enough. Further water exposure drives more moisture into the wall cavity.
This test is a diagnostic, not a maintenance habit. Run it once a year in the spring, before the wet season starts, and after any major storm that brought sustained wind-driven rain against the window faces. If a window fails, the fix is not to caulk over the existing bead. The failed bead must be cut out, the joint cleaned and primed, and a new bead of a sealant rated for the frame-to-wall junction applied and tooled. On window replacement in Miami projects, we pull the old frames and routinely find the framing members and sill pans beneath failed sealant beads that looked intact from the outside. The water test is the cheapest early warning you can give yourself.
Hardware Lubrication Intervals for Miami Humidity
Miami’s humidity does something specific to window hardware. It attacks the points where dissimilar metals meet: the steel pins inside aluminum hinge arms, the zinc castings on multipoint locking mechanisms, and the brass rollers under sliding panels. Corrosion starts at the metal-to-metal contact points, which are precisely the places most maintenance checklists skip because they require partial disassembly to reach.
On a multipoint locking system, the first point to seize is the locking roller at the bottom of the sash. It carries the most load, sits closest to the floor where humidity and salt settle, and is the point most exposed to blown rain if the window was ever left open during a squall. When that roller begins to corrode, the locking mechanism still throws, but the roller no longer rotates, and the window no longer compresses against the gasket seat evenly. The homeowner feels the handle turn harder each month and assumes it is normal wear. It is not. It is a corrosion failure in progress, and it ends with either a broken handle or a window that no longer seals in the closed position.
Hardware lubrication in Miami requires a schedule and the right product.
- Use a dry-film lubricant with PTFE, not WD-40 or any oil-based product. Oil-based lubricants attract salt and dust, which mixes into a grinding paste at the hinge points and accelerates wear. A dry-film PTFE lubricant coats the metal and dries without leaving a residue that holds contaminants.
- Lubricate multipoint locking points every six months. Apply the lubricant to the locking roller at the bottom of the sash, the keep plate on the frame, the hinge pins on the side, and the handle gearbox if the window has a geared mechanism.
- Lubricate sliding panel rollers every six months. Remove the track cover if there is one, vacuum the track, and apply the dry-film lubricant to the roller axle, not the track. Lubricating the track makes the rollers slip instead of roll.
- Do not lubricate the gasket or weatherstrip. Lubricant on rubber causes the gasket to swell and lose its compression set, which is the opposite of what you want.
- If a locking mechanism is already hard to throw, lubrication will not fix it. The corrosion has advanced far enough that the only honest repair is to remove the mechanism, clean the corrosion, and reinstall. The first real symptom of seizing hardware is not the handle binding; it is the window no longer drawing flush against the frame in one corner. That subtle change is the signal to call a glazier.
When we install new impact windows from manufacturers like Mr-Glass and Therma-Tru, we lubricate every mechanism before we leave and give the homeowner the interval schedule above. A mechanism that gets its first lubrication at year five in Miami has already lost years of service life. This is one of the maintenance items where TruePane Windows & Doors home service calls in Miami most often find that waiting on the obvious symptom has made the repair cost ten times what the maintenance would have.
What a Legitimate Glazier Looks for on the Gasket Seat
The gasket seat is the channel in the frame where the gasket compresses when the window sash closes. It is the line of defense that keeps wind-driven rain from entering the frame track and reaching the weep holes in the first place. A gasket in good condition has a smooth, even compression set against the sash at every point. A gasket in failure has thin spots, flattened sections, or areas where the gasket has pulled away from the frame channel and now sits wadded in one corner. The difference between a weather-tight window and a wet one is often a few millimeters of compression set across that line.
What we look for during an annual inspection is specific:
- Compression set. Press a finger along the gasket with the window closed and check for even resistance at every point. Flat spots indicate the gasket has lost its memory and is not recovering between cycles. The gasket is no longer sealing at those points, even if the sash is fully closed.
- Gasket seat adhesive failure. In many frames the gasket is held in the channel with a light adhesive. When the adhesive fails, the gasket slides, bunches, and leaves gaps at the frame corners. This is common on the bottom of impact windows that get full sun in the afternoon, and it is the first thing to check on windows facing west in Miami.
- Corner welding or butt joint separation. At the corners of the frame, the gasket should be continuous or closely mated. A gap of an eighth of an inch at the corner lets water in that the weep system must then handle. It is a failure point that grows each wet season. On some window lines the gasket is welded at the corners; on others it is square-cut and butt-joined. The manufacturer determines whether a corner can be re-glued or must be replaced as part of the frame.
- Glazing gasket around the glass unit itself. This is a second gasket, inside the frame channel, holding the impact glass in place. It is not something a homeowner can inspect from the exterior, but it is something we check with an inspection light and a probe on every annual visit. A failed glazing gasket lets the impact glass shift within the frame, which changes the load path during an impact event. The glass may still be intact, but it is no longer performing as a tested assembly.
A generic handyman typically skips the gasket seat entirely and reports the window as in good condition after checking that the glass is intact and the window opens and closes. These are the two things that fail last. The gasket seat is one of the first, and it takes an inspection that looks at the seals as a system to catch it. That is the difference between a maintenance check and a maintenance claim. When we replaced windows in a 1971 Miami house last year, the old frames were solid, the glass was intact, and every gasket in the house had compression-set flat spots that had been letting water into the track for a decade. The homeowner had been told for years that the windows were fine. The rot behind the sills said otherwise.
The Six-Month Inspection Walkthrough
The following sequence takes an hour for a typical Miami house with ten to twelve impact windows. Run it every six months, once in April before the wet season and once in November after the season ends. It is organized by the order in which failures actually occur, not by calendar date, because a maintenance schedule that treats every component equally misses the ones that go first.
Step 1: Track and Weep Inspection
Vacuum the bottom track of every window. Inspect each weep hole from the interior and exterior. Clear any blockage with a wooden toothpick and flush gently from the exterior side. Confirm drainage. If any weep hole will not clear, mark the window for a service call before the next heavy rain.
Step 2: Gasket Seat Check
Close each window and run a finger along the gasket line on all four sides. Note any flat spots, gaps at the corners, or gasket sections that have pulled free of the channel. Open the window and check the gasket for tears or adhesive failure. A gasket that is visibly degraded in any section should be flagged for replacement; it will not recover between inspections.
Step 3: Hardware Function and Lubrication
Open and close each window three times. Note any change in resistance from the last inspection. Lubricate multipoint locking rollers, hinge pins, and sliding panel roller axles with a dry-film PTFE lubricant. Do not lubricate the gasket or weatherstrip.
Step 4: Glass Surface Check
Inspect the glass surface on both sides at an angle. Look for haze at the laminate perimeter, micro-scratches, and any visual distortion. Remember that haze at the perimeter is interlayer damage from chemical migration and cannot be polished out. If you see it, the damage has already occurred, and the window should be evaluated for replacement while the frame and hardware are still serviceable.
Step 5: Frame-to-Wall Sealant Water Test
Run the controlled water test described earlier on the frame-to-wall sealant. Test every window. If any interior moisture appears, the bead has failed at the bond line and must be removed and replaced. Do not caulk over it.
Step 6: Interior Wall Check
Look at the interior wall below each window for new paint bubbles, drywall staining, or the chalky white mineral deposits called efflorescence. Efflorescence is the sign that water has been traveling through the wall cavity and carrying minerals to the surface as it evaporates. By the time efflorescence is visible, the leak is not new. It has been happening long enough to saturate the materials behind the finish. Note where it appears and mark the window for a professional leak trace.
If this walkthrough seems lengthy, remember that it replaces the single visual inspection that most checklists tell you is enough. Impact windows in Miami are not maintenance-free, and the maintenance that matters happens at the component level. Ten minutes per window twice a year is a small price for catching a seal failure before it becomes a wall cavity problem. A full replacement after a leak is not a maintenance item; it is an avoidable cost, and it is one that homeowners who keep this schedule rarely pay.
Common Mistakes to Avoid
- Spraying cleaner directly onto the glass. Direct spray sends cleaner running down the glass and into the frame track, where it pools against sealant and interlayer edges. Apply cleaning solution to the cloth first, every time.
- Using WD-40 on window hardware. WD-40 is a water displacer, not a lubricant for this application. It leaves an oil film that attracts salt and dust in Miami’s coastal air, which grinds the mechanism into failure faster than leaving it dry would have.
- Clearing weep holes with wire or a metal pick. Metal tools scratch the frame coating and can puncture the sill pan flashing beneath the frame. Wooden toothpicks only, and gentle rotation, never force.
- Caulking over failed sealant instead of removing it. A new bead over an old failed bead looks fixed for a few months and fails again at the same bond line. The old bead must be cut out and the joint properly prepped.
- Skipping the gasket seat because the window opens and closes fine. The gasket compresses invisibly, and its failure is not something you feel in the hinge or the handle. It is something you find with a finger pressed along the gasket line, or not at all until the water shows up inside.
- Assuming impact windows are maintenance-free. The glass holds; that is what it is built to do. The seals, drainage paths, and hardware are the components that need attention, and they need it on a schedule, not just when something visibly breaks.
- Running the hose water test at pressure-washer pressure. High pressure at the frame line injects water through a failed bead and into the wall cavity, making the leak worse. A gentle fan setting is enough, and it gives an accurate picture of rain-driven performance.
When to Call a Professional
Some failures are too far along for maintenance, and the honest answer is a service call. If a weep hole will not clear after gentle flushing, the drain channel is impacted and the frame needs to be pulled from the sill to clear it properly. If the water test shows interior moisture, the sealant bead has failed at the bond line and must be cut out and replaced by someone who works on these assemblies every day. If a locking mechanism is already hard to throw, corrosion has advanced past the point where lubricant helps. If you see efflorescence on the interior sill, the leak has been running long enough that the wall cavity needs to be opened and inspected. And if you see haze creeping inward from the laminate perimeter, the interlayer has been chemically damaged, and that window’s protection is compromised.
TruePane Windows & Doors offers free estimates in Miami. Call (561) 956-2754 and a live person answers. If it turns out to be a maintenance issue you can handle, we’ll tell you that on the phone. If it needs a glazier, we’ll look at it, write you a line-item quote on paper, and leave you with both warranty layers registered in writing before the truck leaves your driveway. That’s the standard the work is held to, and it’s been the standard since 2008.
Frequently Asked Questions
Impact windows in Miami should receive a full component inspection every six months, once in April before the wet season and once in November after it ends. The inspection covers weep holes, gasket seat compression, hardware function, glass surface condition, and frame-to-wall sealant integrity. It takes about ten minutes per window and prevents the small failures from becoming wall cavity problems. Call (561) 956-2754 if the walkthrough turns up anything that needs a glazier’s eye, and the estimate is free.
You should not use ammonia-based glass cleaners on laminated impact windows because ammonia migrates along the interlayer and causes permanent haze at the laminate edges over time. Use a mild dish soap and water solution applied to a microfiber cloth, never sprayed directly onto the glass. If your windows already show perimeter haze, the interlayer damage is done, and you’ll want a professional evaluation before the next storm season. For an exact assessment, call (561) 956-2754.
Water that will not drain from the bottom track of an impact window means the weep holes are blocked with compacted debris, and the sill pan flashing beneath the frame is holding water. Clear the holes gently with a wooden toothpick and flush from the exterior with low-pressure water. If the water still won’t drain, the drain channel is impacted and the frame likely needs to be pulled from the sill to clear it. TruePane Windows & Doors services Miami homes with this exact failure, and the call starts with a free estimate at (561) 956-2754.
Miami-Dade County building code requires impact-rated products on new construction and major renovations, and your insurance carrier may inspect for compliance, but no insurer requires a written maintenance log for residential windows. What maintenance protects is the performance of the assembly itself; a window with failed sealant or a seized locking mechanism is not performing as the tested assembly your insurance premium is calculated on. Regular inspection also gives you documentation if a claim is ever disputed.
A sealant bead that is no longer adhered to the frame or wall often looks intact from a distance, so visual inspection alone will miss the failure. The reliable test is a controlled water test: gently spray the frame-to-wall perimeter with a garden hose on a fan setting, then check the interior track and sill for moisture. Any interior moisture means the bead has failed at the bond line and must be removed and replaced, not caulked over. We perform this test regularly on Miami homes and are always direct about what it shows.
DIY maintenance costs about twenty dollars annually: a bottle of pH-neutral cleaner, lint-free microfiber cloths, and a can of dry-film PTFE lubricant. A professional annual inspection from a legitimate glazier in Miami typically runs between $89 and $200 depending on the number of windows and whether any minor service is performed during the visit. Repairs are a different category, and a weep hole clearing, sealant replacement, or hardware rebuild will be quoted as a line-item job before any work begins. Call (561) 956-2754 for a free estimate; you’ll get a number on paper before anyone touches a window.
The Bottom Line
Impact windows in Miami are not maintenance-free, and pretending they are costs more in the long run than the hour twice a year this checklist asks for. The glass is the last thing to fail. The weep holes, the gasket seat, the sealant bond line, and the multipoint hardware are the components that go first, and each one fails quietly before it fails visibly. A weep hole that will not drain, a sealant bead that looks fine but lets water through, a gasket that has lost its compression set: these are the failures that turn a maintained window into a wall cavity repair. This guide is built around those components in that order because the evidence from forty-plus years in the trade says that is how it actually happens. Check them on schedule, use the right cleaning agents, and test the sealant with water, not just with your eyes.
Written by Dale Kessler, Owner at TruePane Windows & Doors, serving Miami since 2008.
Six Reasons Homeowners Choose TruePane Windows & Doors
Impact systems engineered to design pressures up to +/-100, matched to your wind zone - your openings hold when the storm arrives.
Low-E insulated impact glass from our manufacturer lines commonly cuts monthly cooling bills 20-30%.
Laminated impact glass shuts out up to 40% of outside noise - traffic, neighbors, weather.
Monitoring services run $30-90 a month. Laminated impact glass resists forced entry around the clock, with no subscription.
Florida homeowners average around 25% savings on the windstorm portion of their policy after protecting every opening - some homes qualify for more.
A full impact package upgrades curb appeal, buyer confidence and appraised value in one project.